Looking to test the features, design, and validity of your product idea? Want to check everyone involved is on the same page? Need to see a cost-effective version of your product that you can explore and refine to ensure it meets your needs?
Then you need a prototype.
Contents
- What is a prototype?
- What is design fidelity?
- Low fidelity prototypes
- Three benefits of low-fidelity prototypes
- High-fidelity prototypes
- Three benefits of high-fidelity prototypes
- What’s best for your project?
- For prototypes high or low, say hello!

What is a prototype?
According to Adobe1, prototyping lets designers ‘present their designs and see them in action.’ From a product-owner point of view, it’s your opportunity to see the first version of your website, platform or app. So you get an idea of how it will function and look.
It’s not the final product or even the final blueprint. It’s an initial mockup. ‘Prototype’ literally means ‘first impression’ – designed to give you a proof of concept.
A prototype is a vital part of the design process. It’s a quick and easy way to test, get feedback, amend, add and remove features, agree upon the end product specification, and pull together a development timeline for the project.
What is design fidelity?
Design fidelity refers to the amount of detail included in a prototype. As a general rule, the more detail included and the more it resembles the end design, the higher the fidelity.
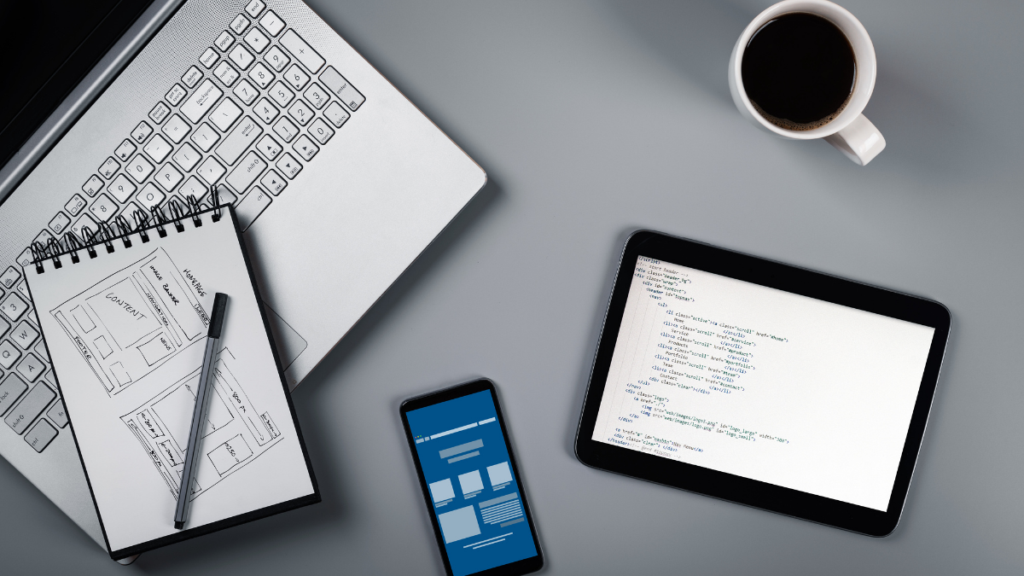
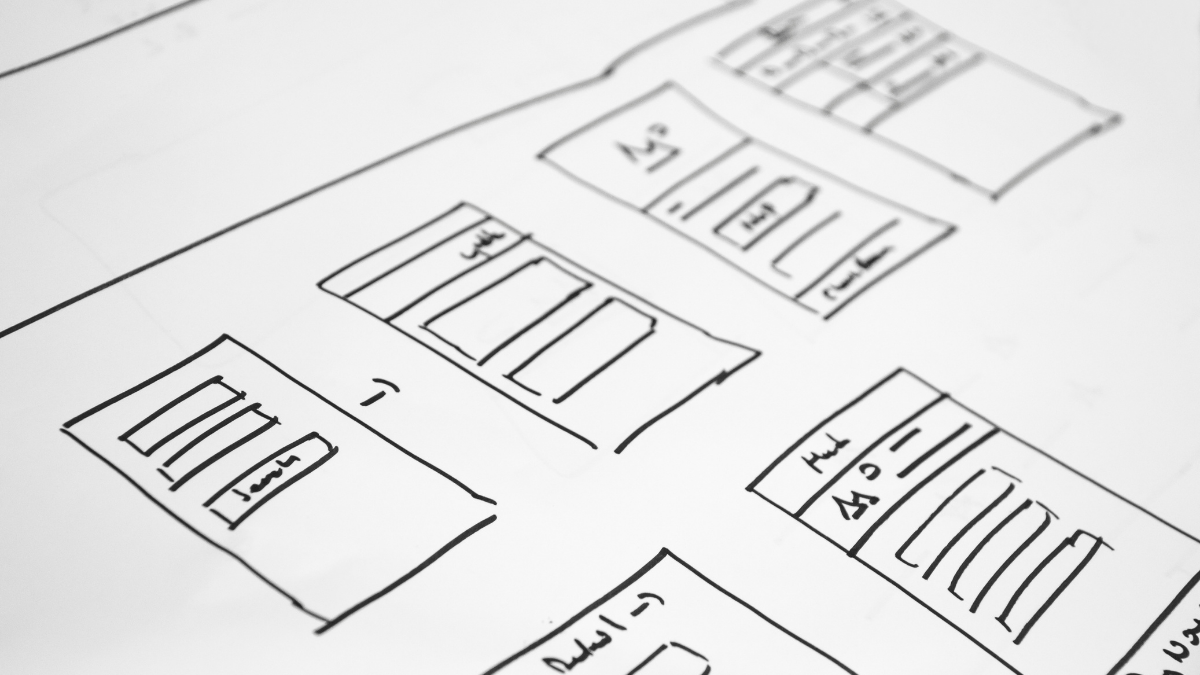
- A hand-drawn sketch of a product would fall into the low-fidelity category
- A digital rendering of a product that includes full functionality and interactive elements that mirror the user experience would fall into the high-fidelity category
To look at it another way, if ‘low-fidelity’ was a steak, it would be rare to medium-rare. If ‘high-fidelity’ was a steak, it would be medium to well-done. Sauces, such as Béarnaise (our personal favourite), are optional.

Low-fidelity prototypes
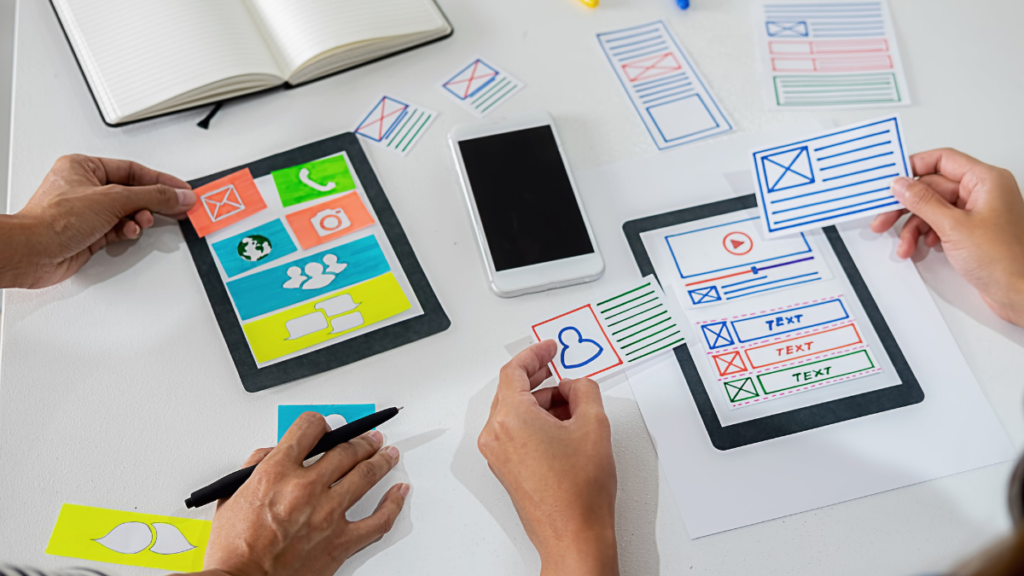
Low-fidelity prototypes are traditionally simple, early stage, and put-your-ideas-down-on-paper visualisations of how a user would navigate through your site or app. That’s why they tend to be paper-based mock-ups.
As they’re relatively quick to create and easy to amend, they’re good for the early stages of gathering feedback. We find that people are more likely to request amendments when the design doesn’t seem set in stone.
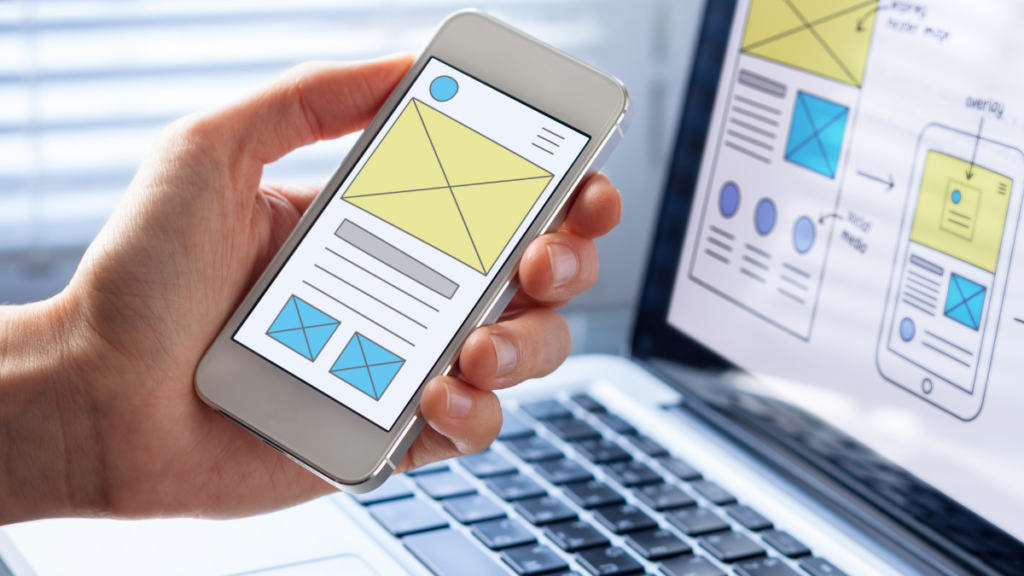
They don’t have to be hand-drawn sketches though. Digital prototypes are the computer-based equivalent. Again, they’re simple renderings, usually in black and white. They focus on the structure of your project architecture, rather than the design, with some basic functionality laid out using hyperlinked wireframes.
Three benefits of low-fidelity prototypes
- They are quick to draw up, easy to amend, and a relatively low-cost way to test the project concept. Whether it’s a new site or app, or new feature. Before development starts
- They allow for everyone involved in the project – including customers and prospects – to get an early understanding of how it could work and contribute their ideas to the final design
- Stripping the project down to its essence helps keep the focus on the validity of the concept itself, rather than the design or technical aspects which can finalised later in the process

High-fidelity prototypes
High- fidelity prototypes give you an understanding of what the finished product will look like and how it will work. They are usually high quality, computer-based, and interactive so you can test drive the functionality and user journey.
As they closely replicate the final product with screen transitions and design features in place, they are often used to demonstrate the product to stakeholders or investors, or to collect early user feedback on how easy it is to navigate.
Three benefits of high-fidelity prototypes
- They are particularly useful for gathering feedback (or buy-in) from stakeholders who aren’t technical and may not be able to visualise or comprehend the end product from a wireframe design
- From a visual and usability perspective they feel ‘real’ to users. This means they are more intuitive to test and the user feedback will be close to the ‘real’ experience of using the product at launch
- As they’re highly detailed prototypes, you can choose to test individual areas or particular functionality (such as menus or input fields) and use the feedback to shape the final developed product
What’s best for your project?
There’s no one-size-fits-all answer, to be honest. Depending on your budget and timeframe, both low-fidelity and high-fidelity prototypes will inform the overall development process for your project.
As discussed above, the usual routine is for low-fidelity prototypes to be drawn up in the early stages of a project as they give you the opportunity to explore the proof of concept and early-stage ideas for functionality and design.

The feedback gathered from the low-fidelity prototype then informs the rest of the development process, which can include the creation of a high-fidelity prototype.
Then, any feedback or user data collected from high-fidelity testing can be used to finalise the product for launch.
So ideally, unless you’re up against it from a time perspective, it’s not a case of either-or as both are essential elements of the evolution of a product.
For prototypes high or low, say hello!
As specialists in web design, mobile apps, and custom software we’d love to help bring your idea to life as a low-fidelity prototype, high-fidelity prototype, and launched product.
You can check out our guide to how to turn your idea into a successful digital product.
Feel free to get in touch to discuss the best way forward for your project.


Leave a Reply